DIY Scamp Mattress Topper
Sometimes toughness builds character. Other times, it just makes me sore. After three years as a happy 16 ft. Scamp owner - but with aching shoulders when sleeping - I decided it was time to succumb to the comforts of middle age. I needed a more comfortable spot to sleep.
In this post, I’ll show my simple DIY solution to better sleep: a custom-fitted mattress topper.
Background
Our Scamp doesn’t come with a dedicated bed (I believe only the 5th-wheel model does). Instead, the largest sleeping area (about ten inches more narrow than a full-size bed) is converted from a dining table area:
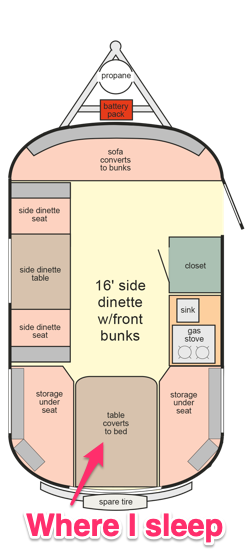
Our 16 ft. Scamp with a side dinette layout.
The foam in the 3” Scamp cushions is fairly high density which creates a firm base when sitting. However, they lack a softer top that most of are used to when sleeping. I saw two options to create a more comfortable sleeping arrangement:
-
Custom cushions w/both high and low density foam - based on too much mattress foam research, simply swapping out the mattress foam for a lower-density, memory-foam option with the same 3” height wouldn’t work as a base cushion is still needed. This would require creating custom cushion covers to contain 6” high foam. My sewing skills are pretty terrible and I didn’t feel up to this challenge.
-
Fitted mattress topper - purchase a memory foam mattress topper for a full-size bed and then cut the topper down to fit the reduced width and rear curves of the Scamp. While far simpler to implement, a mattress topper takes up a decent amount of space when folded.
I decided to go with the simpler option: the fitted mattress topper. This seemed like an easier starting point: there’s no guarantee I’d even pick the right foam to top off the mattress in the first place with either option. We also rarely use the table, so in most cases the topper could simply remain on the converted bed.
Below are the steps I followed.
1. Order a mattress topper for a full-size bed
I purchased a 3 inch ViscoSoft memory foam mattress topper on Amazon for $149.95 (free shipping). I liked the ventilated design as I love to sleep in a cool environment. It also comes with a washable mattress cover, which felt like a must-have in a sometimes dusty and dirty camp environment.
The 3 inch height is a bit bulky (there are 2 inch mattress toppers as well) but I decided to lean towards comfort over weight.
2. Place the mattress topper on a clean floor
The converted bed in the Scamp is about 10 inches narrower and is curved to match the shape of the rear of the Scamp. I wanted to cut the mattress topper so it fit well within the Scamp.
Once you receive the topper, lay it on your (cleaned) floor and pull back the cover.
3. Put the Scamp cushions on top of the mattress
Use the cushions as a cutting template by placing them on top of the mattress topper. Note that the cushions will be about 1 inch longer than the topper - this is fine (I put the shorter end of the topper at the foot of the bed).
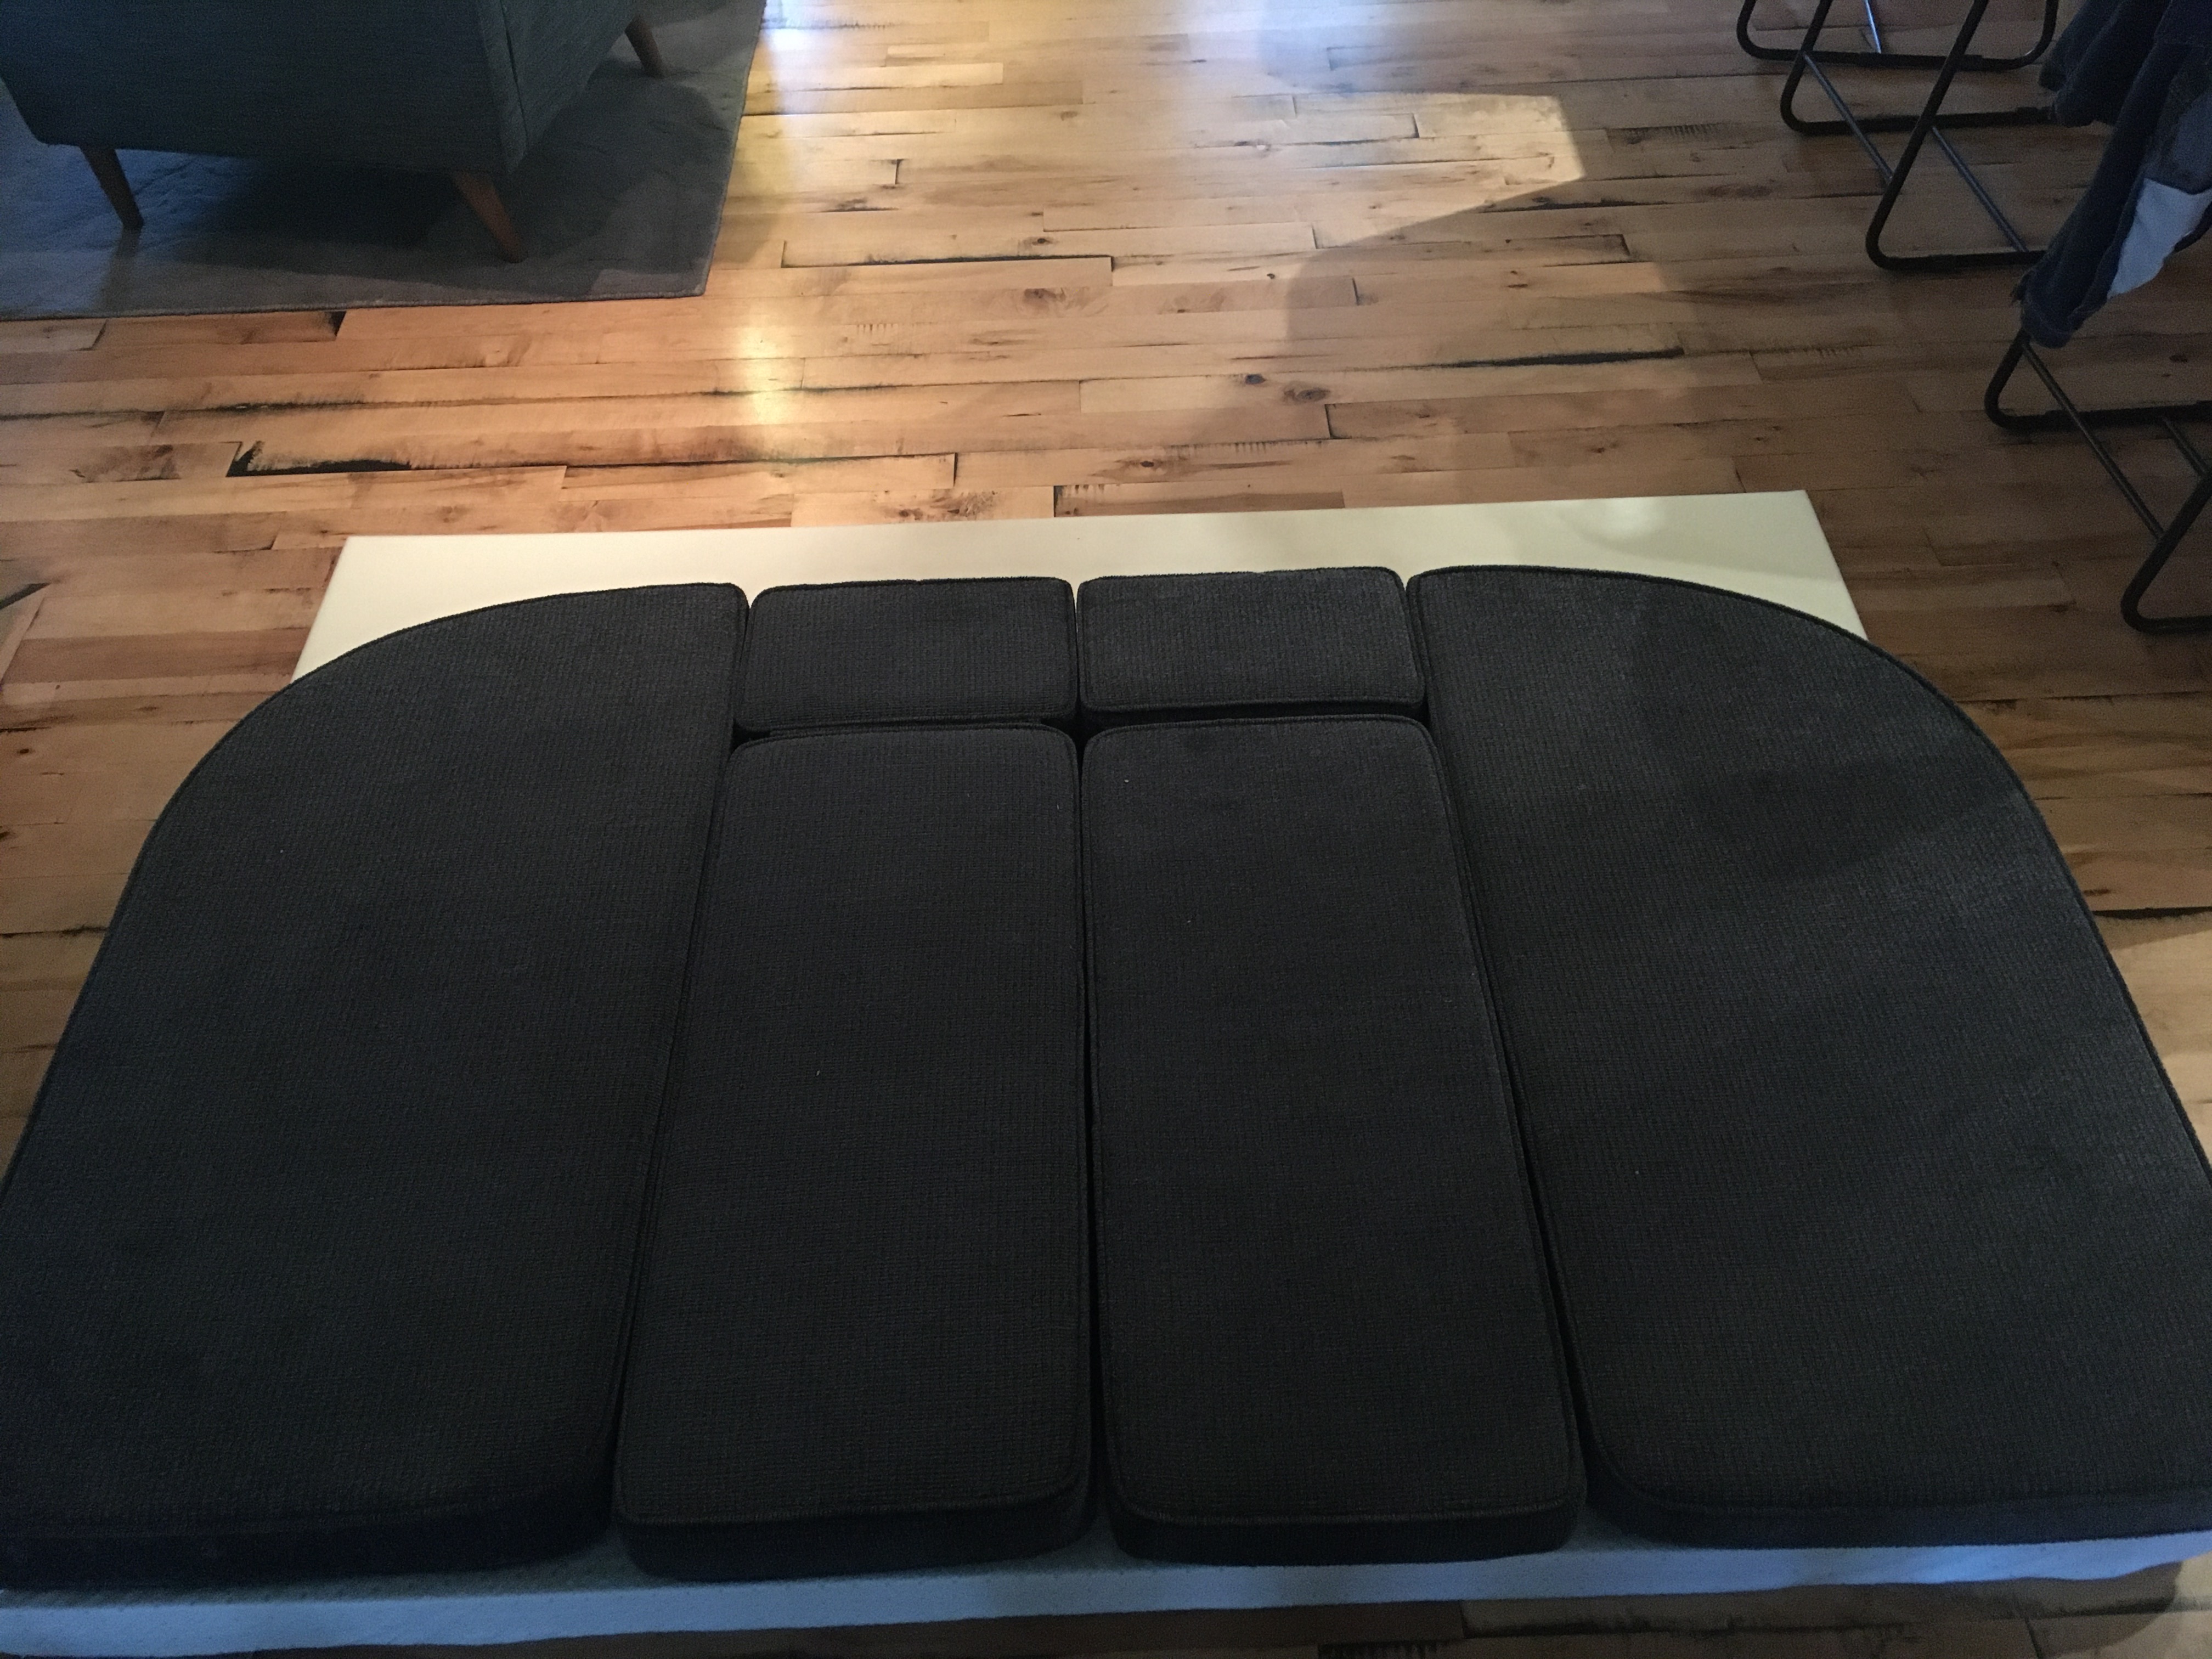
3. Outline the shape of the mattress cushions on the memory foam
Use a marker to outline the shape of the mattress cushions. Mistakes are fine - this will be inside the cover when done.

4. Cut the topper to size with an electric kitchen knife
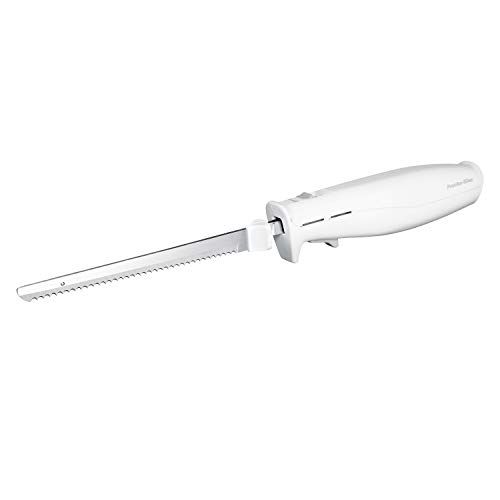
You know that electric knife you use once per-year at Thanksgiving? It works great at cutting through the topper memory foam. Use it to trim the extra foam then put the foam back inside the cover. Don’t worry about the extra cover width - just fold that under the topper when placed inside your Scamp.
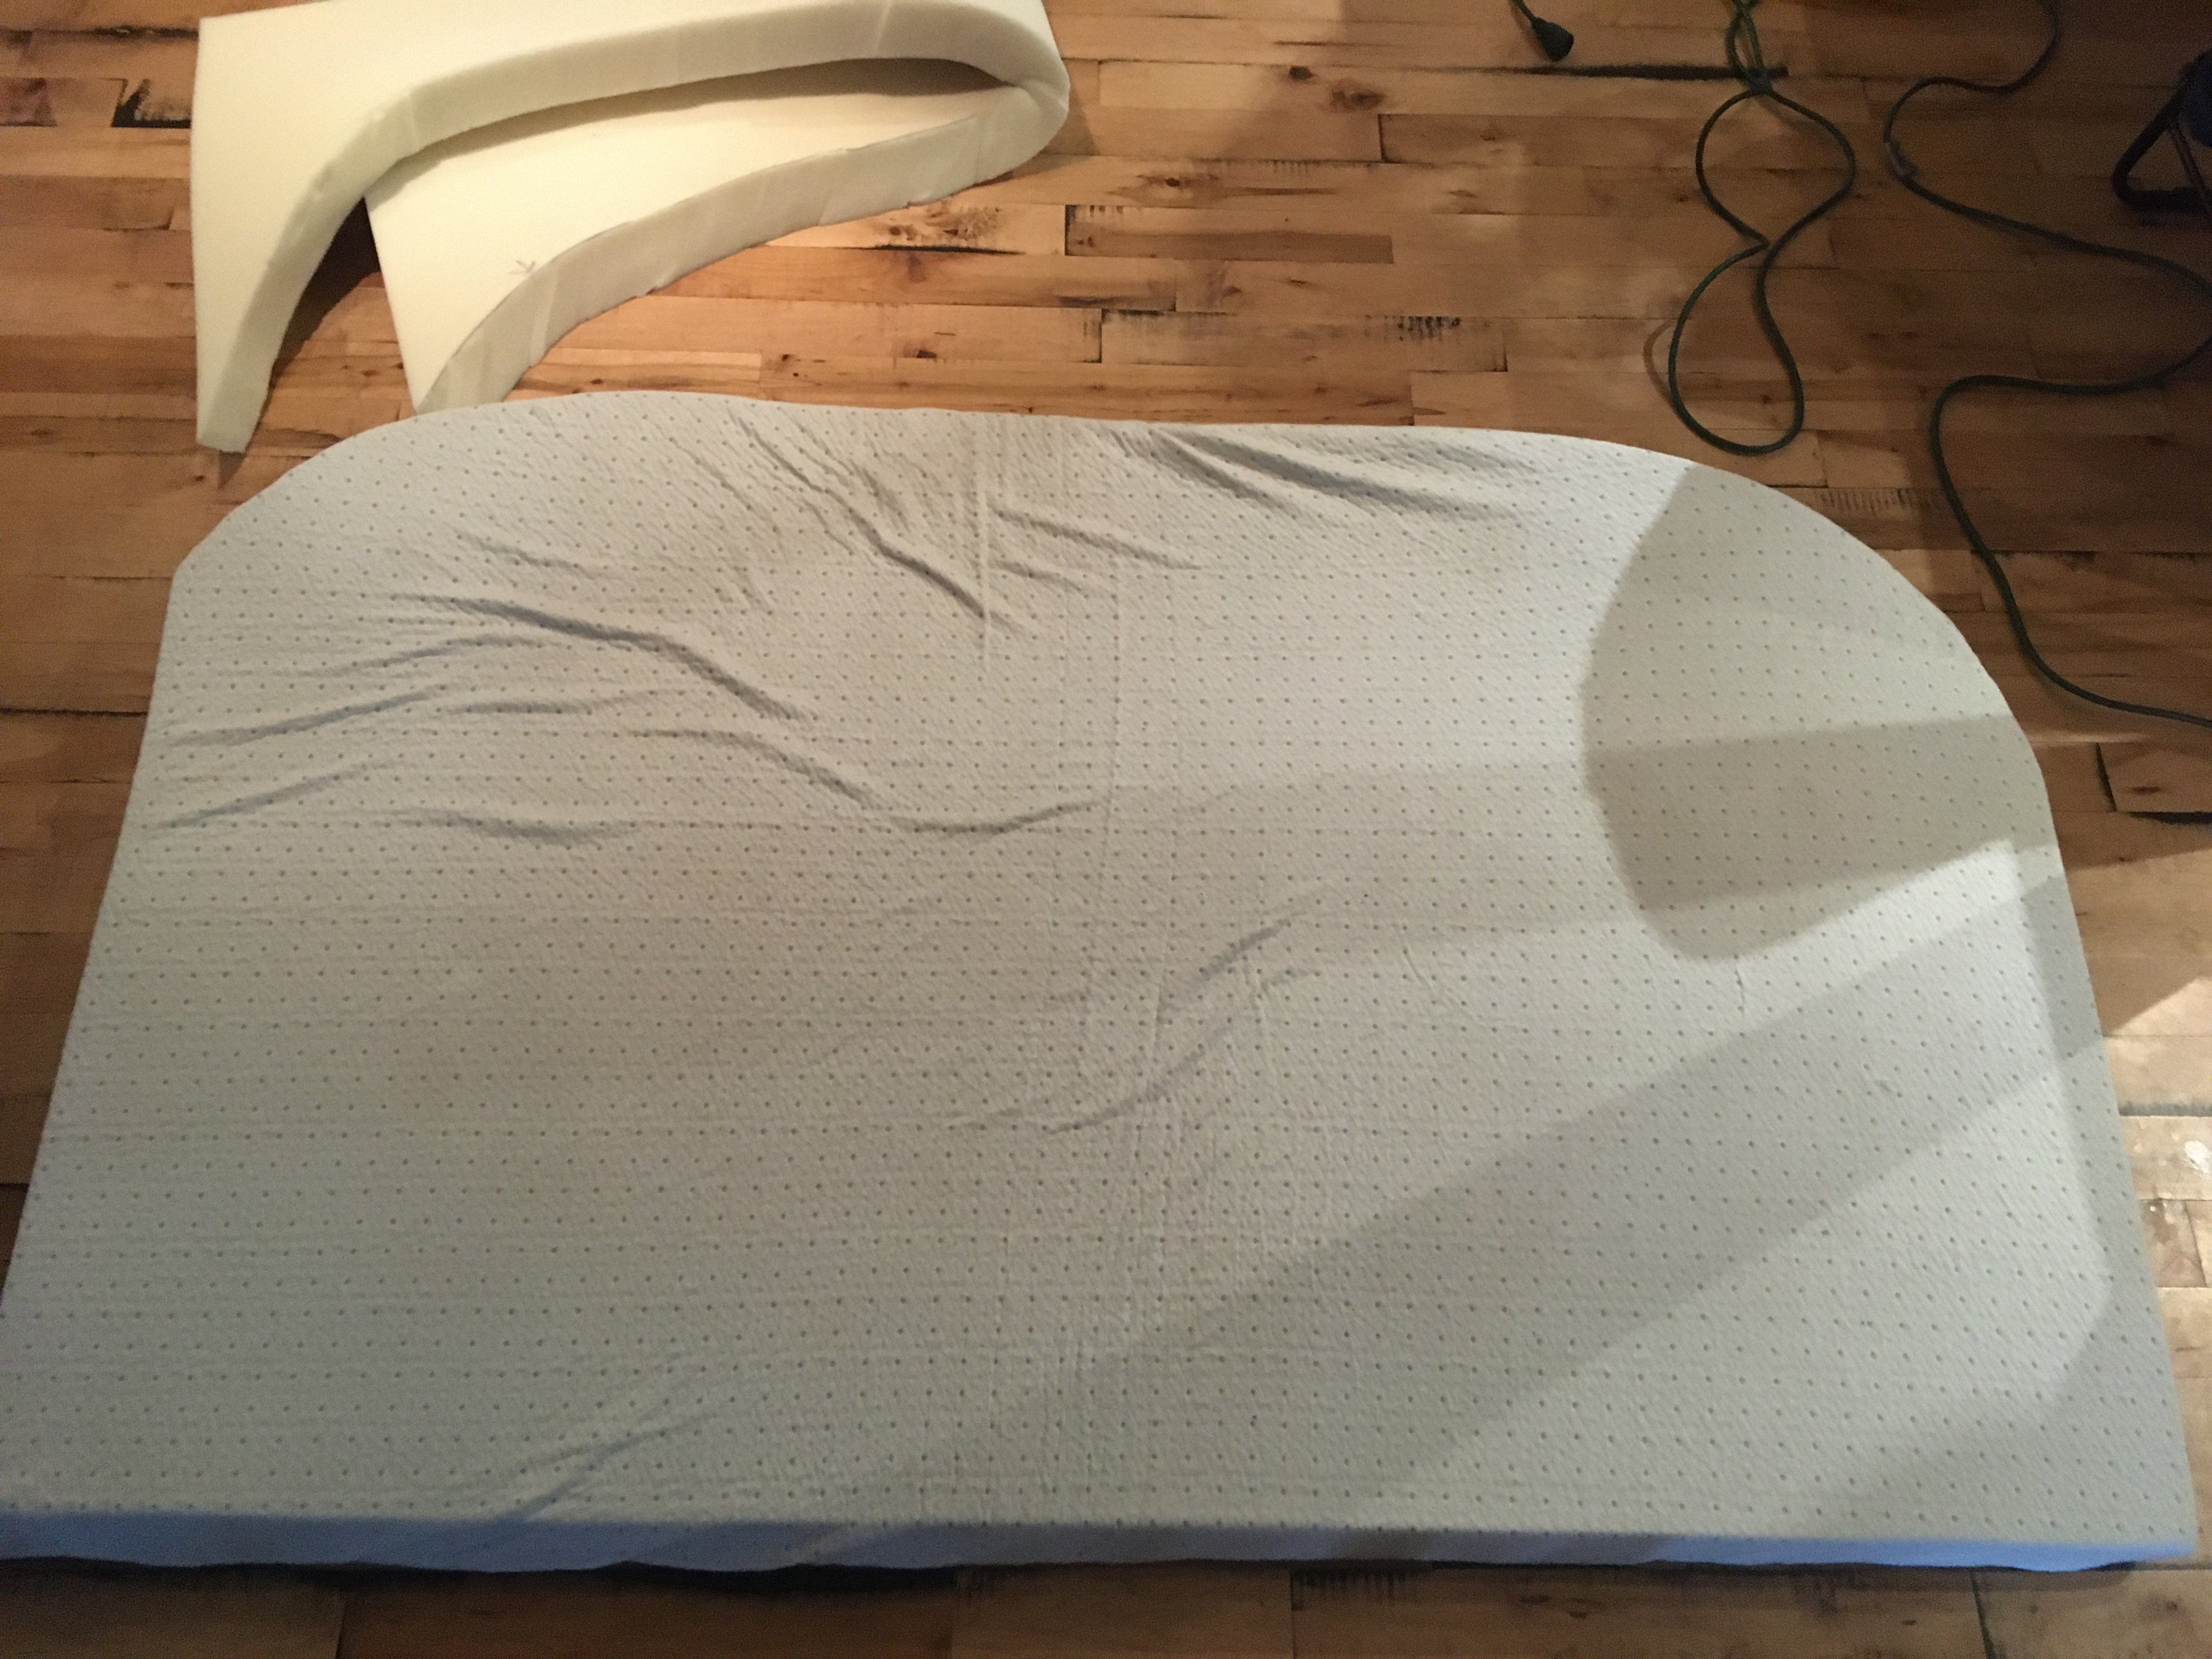
The custom-fitted topper with the extra foam at the bottom.
The finished product
Here’s how the cut mattress topper looks inside the Scamp:
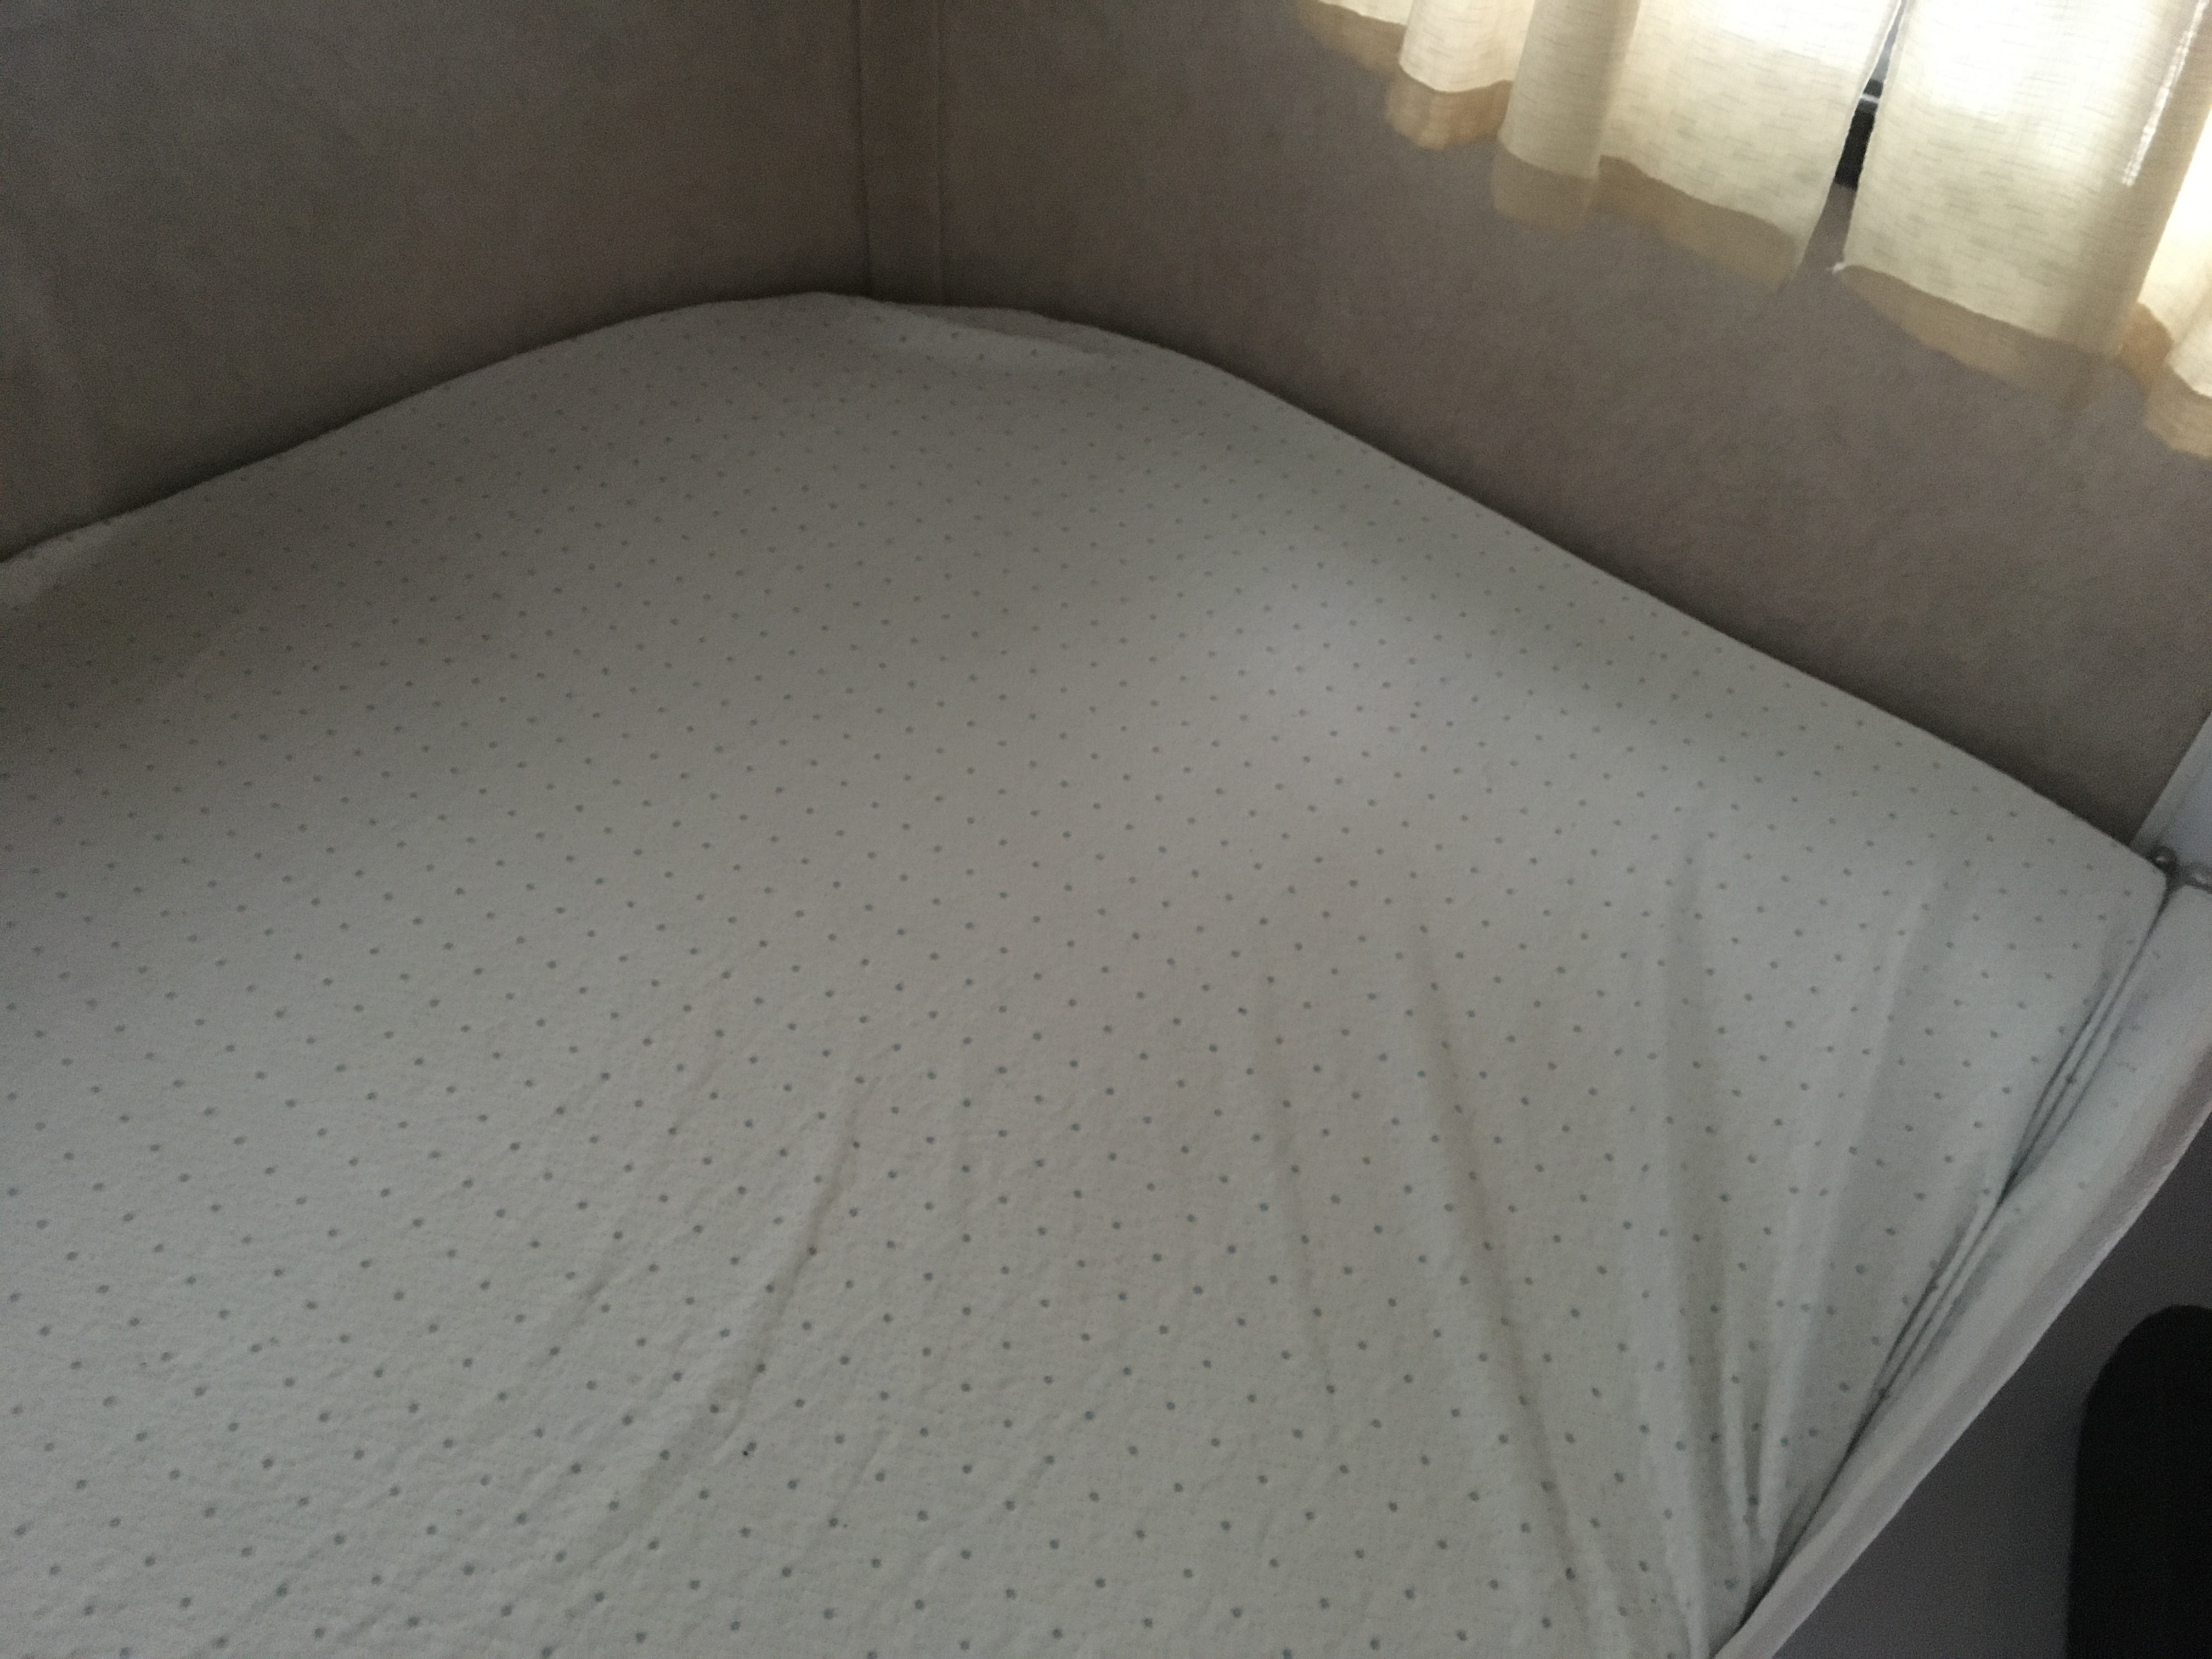
The mattress topper weights 24 pounds after being cut to size.
Does it work?
This is one modification I should have made years ago. My shoulders are no longer sore when sleeping, I toss and turn less, and there isn’t much difference in the feel of the Scamp bed than my bed at home. $150 is a small price to pay for many future nights of solid sleep.